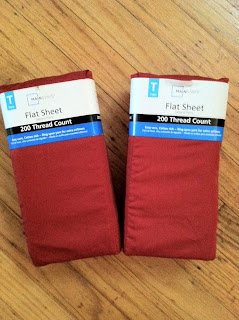
I gathered all the supplies and the whole thing cost me a whopping $15!! Yay!!
- 2 flat sheets (twin) - $10 total
- Glowing things (sword and bracelets) - $2 total
- Men's t-shirt to make loops and ties for the sheets - $3 (I love the sale rack!!)
- Zippered plastic bag (left over from a baby gift, could also be one of those reusable grocery bags, or you could make your own drawstring bag. I chose to use whatever was laying around).
- Card stock (whatever I had)
- Stencils from the decorate-a-onesie craft at my baby shower
- Marker (I used a blue fine point Sharpie)
And here are some pictures...
Glowing things!
Sheets!
Bag!
Label!
To make the label, I used regular 12x12 card stock that I had hanging around and cut it to the size of my bag (see previous picture). I used blue and green (they're a lot brighter than in this pic, sorry about that!), then used stencils and a blue fine-point Sharpie to personalize it.
Shirt!
This one was labeled a men's Small, but it seemed a bit large to me...
To make the strips for the ties and loops, cut the collar and sleeves off (and a little more) until you have a rectangle (I use the "no measure" method, hence the rough edges):
Rectangle!
Cut the rectangle longwise into at least 14 "equal" strips about 24" long (depends on the size of the shirt) (my strips are about 1/2" to 1" wide, and I only had to use one side of the t-shirt)
Strips!
This fort tutorial shows another way to cut the strips and has a great diagram showing where to sew on the strips. My sewing machine is buried, so I will post a picture of the finished project soon!!


No comments:
Post a Comment